Simple nail extension designs:- It’s your time to try some of these designs and give your nails a quick makeover. Nail art isn’t that hard, you just need to try & enjoy. It’s just that simple. See more ideas about nail art, nail designs, nail art designs.
नेल आर्ट फोटो डिज़ाइन | Nail art photo design for women
यह आपका टाइम है कि आप इनमें से कुछ डिज़ाइन आज़माएँ और अपने नाखूनों को एक अच्छा सा खूबसूरत बदलाव दें। नेल आर्ट simple nail extension designs इतना कठिन नहीं है, आपको बस कोशिश करने और आनंद लेने की जरूरत है। यह इतना आसान है। नेल आर्ट, नेल डिजाइन, नेल आर्ट डिजाइन के बारे में निचे पढ़े।
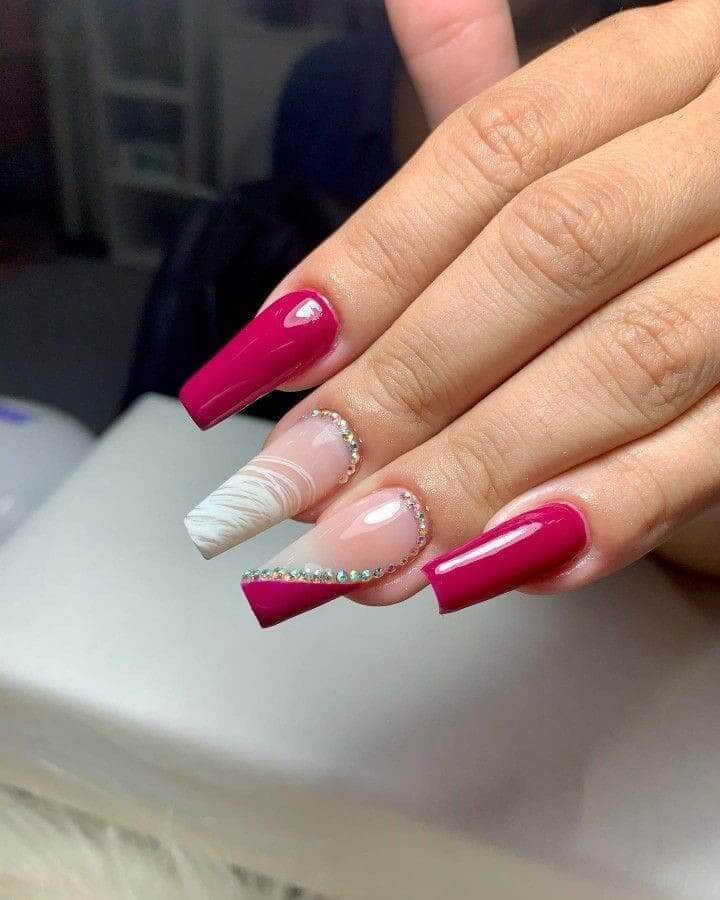
Nail extension designs – Striped Nails (धारीदार नाखून):
Striped Nails: Apply a base color and let it dry. Use thin striping tape or a nail art brush to create straight lines or diagonal stripes on your nails using a contrasting color.
बेस कलर लगाएं और सूखने दें। विषम रंग का उपयोग करके अपने नाखूनों पर सीधी रेखाएँ या तिरछी धारियाँ बनाने के लिए पतले स्ट्राइपिंग टेप या नेल आर्ट ब्रश का उपयोग करें।

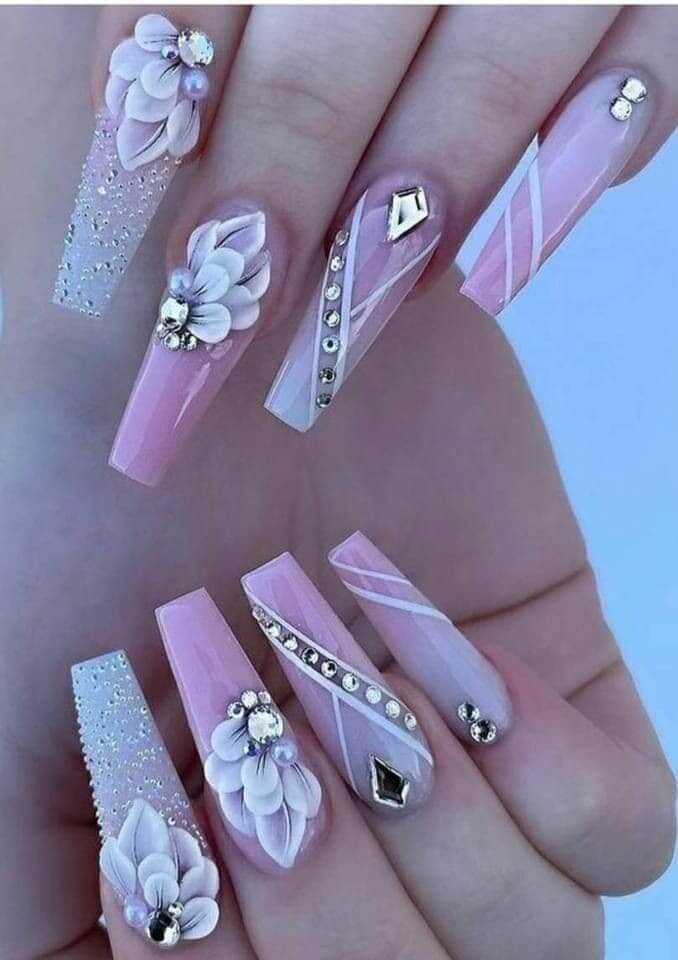
Nail extension designs – Floral Accent (पुष्प एक्सेंट):
Floral Accent: Apply a base color and let it dry. Use a small nail art brush or a toothpick to create flowers or petals on one or two accent nails. You can also use nail art stickers or decals for an easier option.
नेल आर्ट फोटो
बेस कलर लगाएं और सूखने दें। एक या दो उच्चारण वाले नाखूनों पर फूल या पंखुड़ियाँ बनाने के लिए एक छोटे नेल आर्ट ब्रश या टूथपिक का उपयोग करें। आसान विकल्प के लिए आप नेल आर्ट स्टिकर्स या डीकैल का भी इस्तेमाल कर सकते हैं।
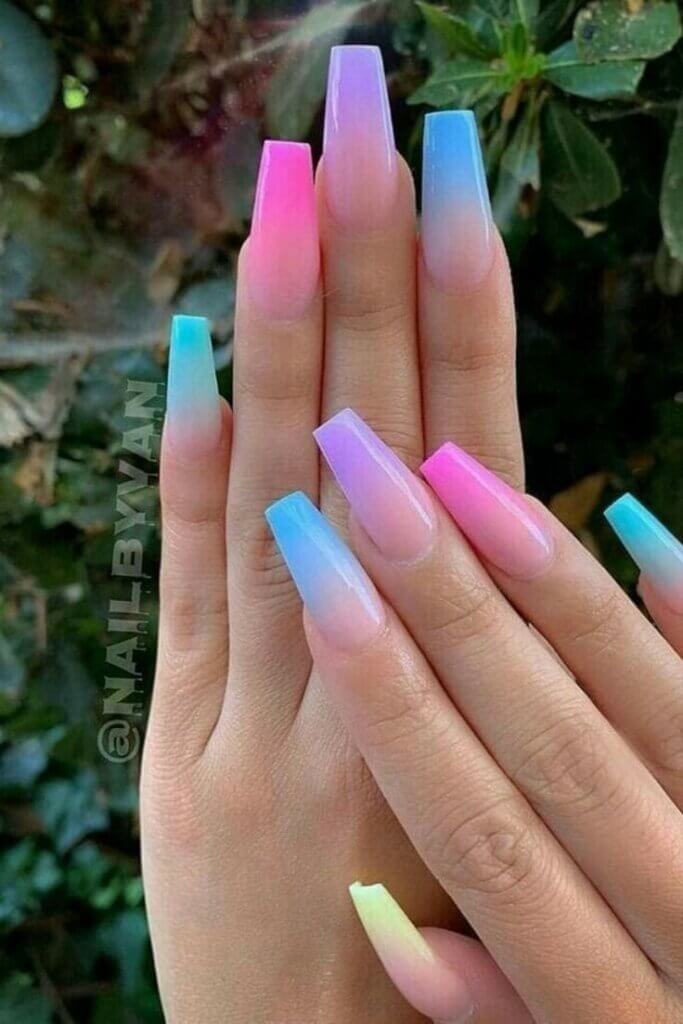
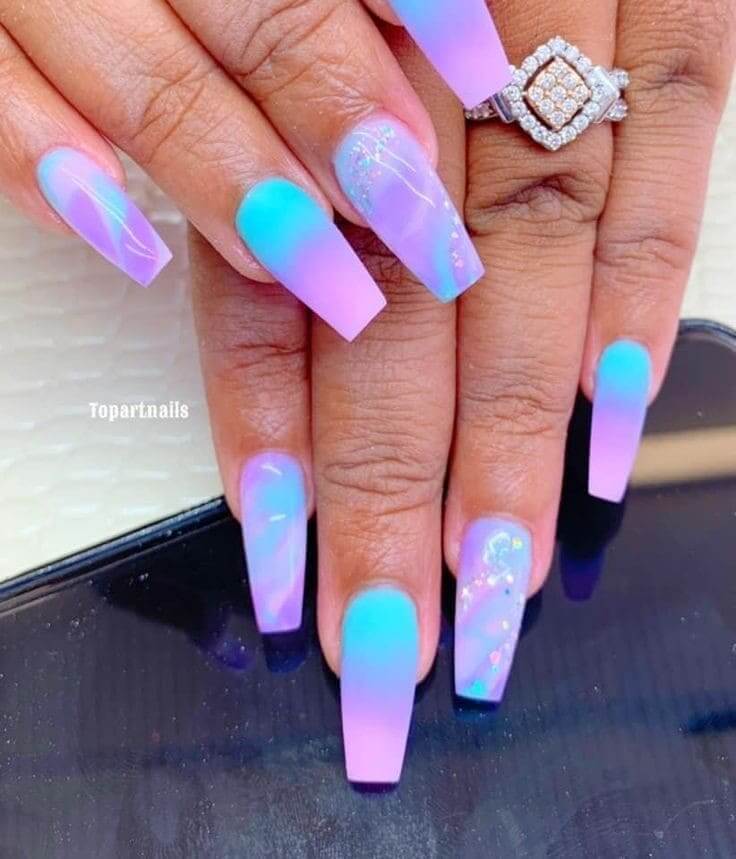
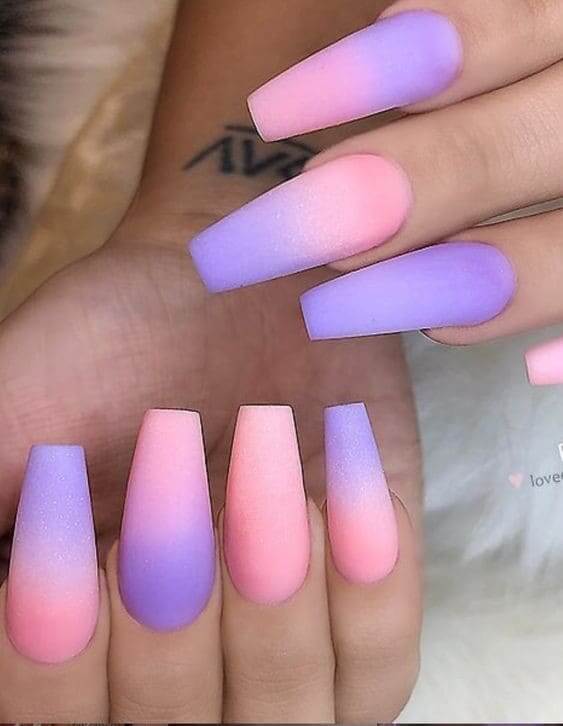
Nail extension designs – Ombré Nails (ओम्ब्रे नाखून):
Ombré Nails: Choose two or more nail polish colors that blend well together. Apply the lightest color as a base and let it dry. Then, using a sponge, apply the other colors in a gradient effect from the tips towards the base.
नेल आर्ट फोटो
दो या दो से अधिक नेल पॉलिश रंग चुनें जो एक साथ अच्छी तरह से मिलें। सबसे हल्के रंग को बेस की तरह लगाएं और सूखने दें। फिर, स्पंज का उपयोग करते हुए, अन्य रंगों को युक्तियों से आधार की ओर एक ढाल प्रभाव में लागू करें।

Nail extension designs – Polka Dots (पोल्का डॉट्स):
Polka Dots: Apply a base color of your choice and let it dry. Use a dotting tool or the end of a toothpick dipped in a contrasting color to create small dots on your nails.
नेल आर्ट फोटो
अपनी पसंद का बेस कलर लगाएं और इसे सूखने दें। अपने नाखूनों पर छोटे डॉट्स बनाने के लिए डॉटिंग टूल या कंट्रास्टिंग कलर में डूबी टूथपिक के सिरे का इस्तेमाल करें।

Nail extension designs – French Tip (फ्रेंच टिप):
French Tip: Apply a neutral or light-colored base coat and let it dry. Then, using a nail polish of your choice, paint the tips of your nails in a straight line or a curved shape.
नेल आर्ट फोटो
एक तटस्थ या हल्के रंग का बेस कोट लगाएं और इसे सूखने दें। फिर, अपनी पसंद की नेल पॉलिश का उपयोग करके, अपने नाखूनों की युक्तियों को एक सीधी रेखा या घुमावदार आकार में पेंट करें।

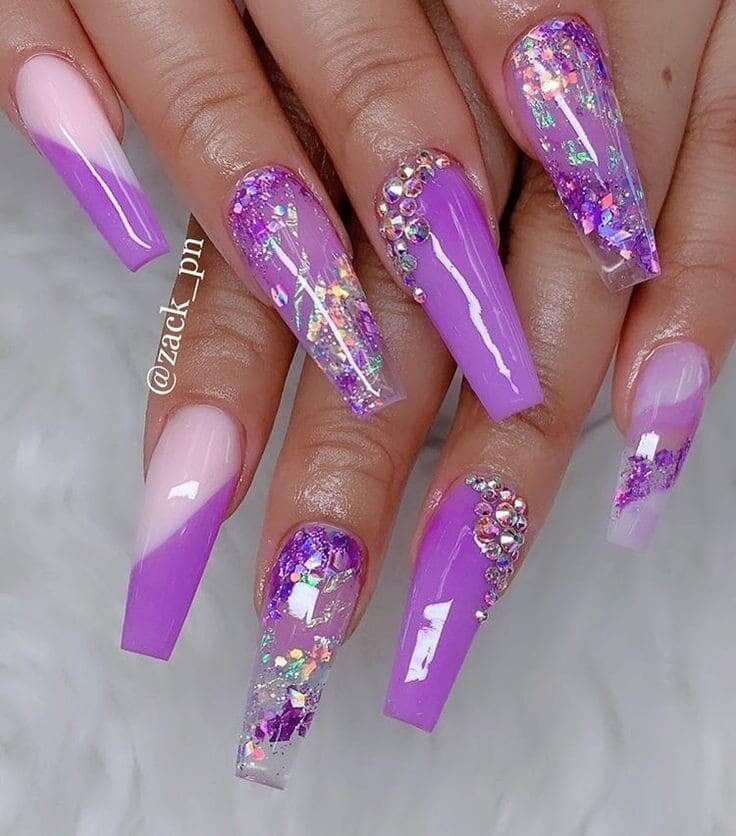
Simple nail art designs – Glitter Gradient (चमक ढाल वाले नाख़ून):
Glitter Gradient: Apply a base color and let it dry. Then, take a glitter nail polish and start applying it from the tips of your nails, gradually fading it towards the base.
नेल आर्ट फोटो
बेस कलर लगाएं और इसे सूखने दें। फिर, एक ग्लिटर नेल पॉलिश लें और इसे अपने नाखूनों के सिरों से लगाना शुरू करें, धीरे-धीरे इसे आधार की ओर फीका करें।
Simple nail art designs – Marble Nails (संगमरमर के नाखून):
Marble Nails: Apply a light-colored base coat and let it dry. Drop a few drops of different-colored nail polishes onto your nails. Use a toothpick or a thin brush to swirl the colors together to create a marble effect.
नेल आर्ट फोटो
हल्के रंग का बेस कोट लगाएं और इसे सूखने दें। अपने नाखूनों पर अलग-अलग रंग की नेल पॉलिश की कुछ बूंदें डालें। मार्बल इफेक्ट बनाने के लिए रंगों को एक साथ घुमाने के लिए टूथपिक या पतले ब्रश का इस्तेमाल करें।
Simple nail art designs – Heart Nails (दिल वाले नाखून):
Heart Nails: Apply a base color and let it dry. Use a nail art brush or toothpick to draw hearts on your nails using a contrasting color. You can create one heart on each nail or choose an accent nail.
बेस कलर लगाएं और सूखने दें। एक विपरीत रंग का उपयोग करके अपने नाखूनों पर दिल बनाने के लिए नेल आर्ट ब्रश या टूथपिक का उपयोग करें। आप प्रत्येक नाखून पर एक दिल बना सकते हैं या एक उच्चारण नाखून चुन सकते हैं।

Remember to apply a top coat to seal and protect your nail art designs. Have fun experimenting with these Nail extension designs | Simple nail art designs
अपने Nail extension को सील करने और सुरक्षित रखने के लिए टॉप कोट लगाना याद रखें। इन आसान नेल आर्ट आइडियाज के साथ प्रयोग करके मजा लें
नेल आर्ट फोटो डिज़ाइन | Nail art photo design for women
